Showing posts with label tutorial. Show all posts

Mar 24, 2013

Easter Egg Garland

Getting a late start at sharing Easter projects I've done around the home.  I'll start by sharing this festive Easter egg garland.
 
 
Just a few simple supplies.  1. 3 pkg 24 count plastic eggs from $tree.  2. Twine the length that you want your garland.  3.  Big sewing needle.
That's it!
 
 
I needled the twine and then I sewed thru the exisiting holes in the plastic eggs until I reached the desired length.
 
 
See that Easter egg board right there?  Yup the torquoisy one!  Made that at a craft night held locally here in Arizona.  You can find out more info here if your local.


Mar 20, 2013

Pens, Markers, & Pencils Organized!


Hope you had a great St. Paddy's Day!  If you follow me on IG {instagram} then you have seen my dilemma with organizing my daughters many writing utensils in a way that she will keep it organized.  Oh, a did I mention, it had to be on the CHEAP!
 
I ended up with this.  She likes it and so far it has been working.  Which means I like it!
 
 
It seems like at the end of every school year this pile gets bigger.  If you know me, you know I like to recycle.  Here's what you need:
 
1.  Empty nose tissue box
2.  15 Toilet paper rolls or 8 paper towel rolls
3.  Paper {I used wrapping paper from $1 bin at T}
4.  Adhesive {I used modge podge}
 
 
Pretty easy to put together.
 

Looks pretty easy, right?  My 9 year old even helped.  I covered one side of the toilet paper rolls with paper as well.
 
 
Love that she is keeping everything in this diddy then scatter everywhere through her room.
 
Linking up here:


Aloha~ Makalani ~Life is Good~

Mar 15, 2013

Shamrock Sign

So remember yesterday I shared how I lacked St. Patrick's day home decor?  Well, here's another easy addition to the decor collection.


I purchased the cut out felt shamrock from the dollar store last year. I also had this board from another project and painted it a base white. 


Applied some glue to adhere the shamrock to the board. That's it!  Too easy, right?


Mar 14, 2013

St Patrick's Day Banner


It seems that I don't have as much decorations for St Paddy's day. It gave me a good excuse to use up these pages that have been hanging on to the bindings of one of my daughters reads.

 
So easy and I had everything on hand so I was able to put it all together in less than a half hour. WooooHoooo! Don't you just love easy? And Cheap?

 
Just a few items are needed.
1.  Book Pages!  duh?  2.  Glue Gun & Sticks  3.  Scissors
4.  Twine  5.  Shamrocks
I picked my shamrocks up last year for the dollar store and never knew what to do with them.  Mine were foam, but you could easily do it out of paper.

 
See that shamrock board up top?  Another addition I added.  Stay tuned for that one tomorrow.  So,
1. cut triangle out of book pages  2.  Cut twine to length desired
3.  Adhere shamrocks to book pages  4.  Space out shamrock penants along twine as desired and adhere to twine.  Taadaaah!


Jun 2, 2011

Hello strangers!

Ooh, that would be me! lol :)  I sure has been a while and I have been stocking up on inspiration all over blogland.  I sure have missed all of you and your creativeness. 
I think it is safe to say that SUMMER is finally here in Arizona, although that is not one of the greatest things that happens around here {you know with the heat and all}, but at least we are closer to fall.

So I just got inveted to join pinterest to help me store all my inspiration that I get from you guys in one convenient place.  Home Stories A 2 Z has a complete tutorial on how it works and how to work it.

I'll be back soon to share some project soon, promise.


Aloha~ Makalani ~Life is Good~

Aug 12, 2010

Candy Cake

I am sometimes stumped on gifts for young ones and I never know if they already have this or that.  Gift cards are great to give, but I like getting or giving something I put some thought into.  Although this gift might not be always welcomed by the parent it is fun and I have gotten great comments when I have given it as a gift.


These are just a few of the items you will need as well as hot glue gun ans glue sticks.  Oh yeah, and don't forget the CANDY! :)  I got everything at the Dollar Tree except for the cake board.  But you could even just cut out a round cardboard.


I took a 8" cake board and covered it with wrapping paper.  I then tiered the styrofoam rings and hot glued them together and then to the cake board. 

I then poked the huge lollipop down the middle of the cake.  {Side note, it works well to leave the plastic wrap on the styrofoam rings}


Then I layered the candy and attached with hot glue gun.  Added some curled ribbon to the top and WALAH!

Easy, easy.


Always partying with these wonderful linky parties here.


Aloha~ Makalani ~Life is Good~

Aug 9, 2010

Temple Blocks

Seriously creative!!!  I got this idea here. Seriously, this chick is chalk full of ideas. 

So I went to Home Depot and checked out their scrap wood collection.  My neighborhood Home Depot sells their scraps for $.51 a piece.  I found 1 piece and ask the employee if he could cut these 7" long.  Home Depot cuts for free if you did not know that.  I needed them to be able to fit a 4X6 picture so they ended up be roughly 5X7.
I sanded all sides down with my 3M sanding block to take most of the roughness out.


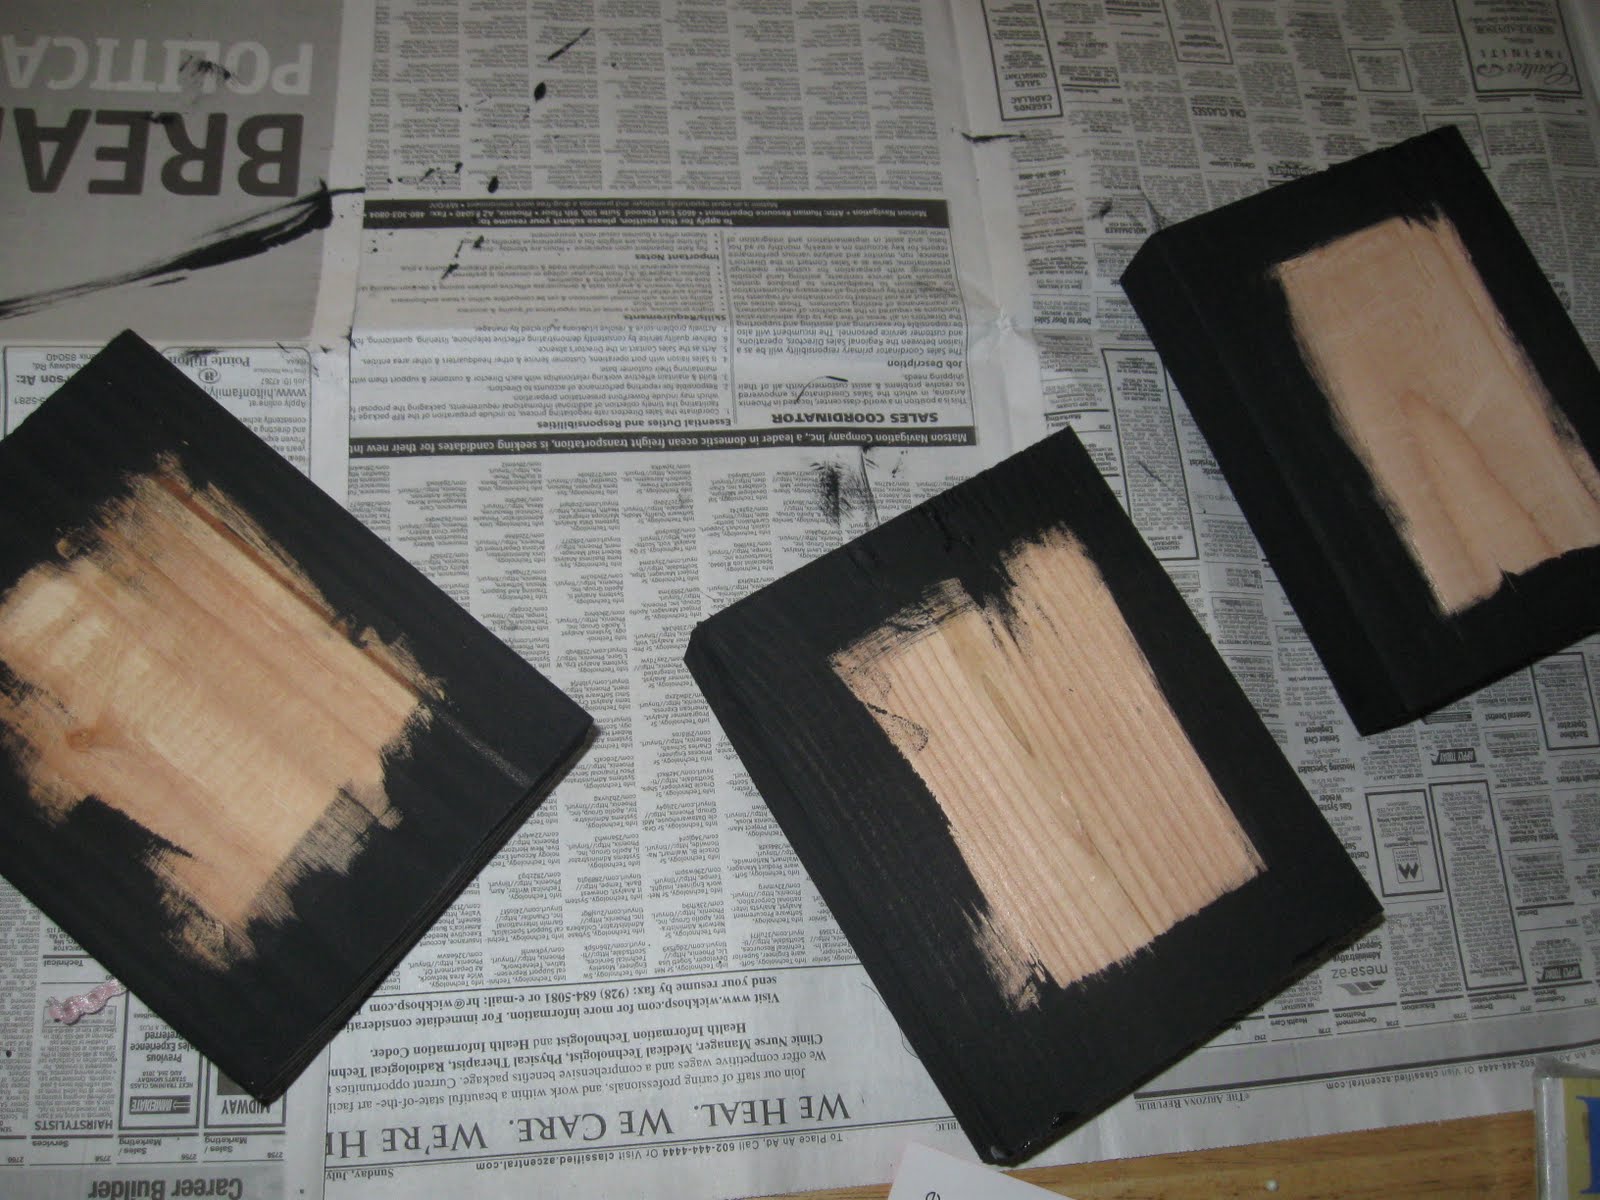
I then painted with American Black acrylic paint all of the sides and the back.


Once it was dried, I flipped it over and just painted on the outer edges and the picture was going to be covering most of the middle.


Once that dried, I covered it with good ol' Mod Podge.  I {heart} this stuff!  I then placed the picture centered on the mod podge.


I then put 2 more coats of mod podge over the whole from (picture and all) to give it a good seal.  Once it dries, you could take your 3M sanding block to the edges to distress it if you like that look.  I decided to not do that on this project.


I then added some tulle.


And tied some ribbon to the tulle.


You can find all different temple pics here with sayings or blank.

So this whole project cost me:

Copy of picture  $.20
had the mod podge, tulle, ribbon, acrylic paint
Scrap wood $.51 (I got 3 blocks out of the 1 piece of wood) so $.17ea
GRAND TOTAL:  $.37


Thanks Lil' Luna for sharing!!!!


Aloha~ Makalani ~Life is Good~

Aug 4, 2010

Accordian Flower Tutorial

I know, these are all over blog land, but they are the most easiest flowers to make and I love how they look.  I know all of my readers are pretty good at these because I have seen them on your blogs, but I have a few new followers and they might benefit.

You just need a strip of material that is at least 1" wide and the longer the material, the more ruffles you can make.


Fold the width of the material in half.  It is easier if you press the material with a hot iron, but is not necessary.  I don't iron it, but once I get going I always wished that I had.  Up to you. 


Then take a threaded needle and make a running stitch along the folded edge of the material.  You will pull down on the material as you stitch so it starts gathering behind you.

Once you reach the end, somethings the gathers start curling and forming in a circle motion and you just need to tweak. 

These here, I just made a circle with, but you can overlap and circle into forming a fuller flower.  Possibilities are soooo endless.


Linking up with these parties here.


Aloha~ Makalani ~Life is Good~

Jul 26, 2010

Decorative Balls

Don't forget the Spooktacular Link party going on here until the end of this month.  Check it out here.


Remember these deco balls we made earlier, well I need more, but different ones.


Well they got lonely and I got creative. 


The moss ones were fun to make, but a bit messy.  These black ones were originally tan and I just spray painted them black.


These are the things I started with.  I got the wiffle balls, moss roll, and moss sheet from dollar tree and the jute I got from Hobby Lobby with my 40% off coupon, it was originally $2.99.  One of these jute rolls could probably make at least 16 of these deco balls if not more.  So for less than $4 you could make 4 of the moss deco balls and for less than $4 you could make about 16 or more jute covered deco balls.  Now I have seen these puppies go for well more than that amount just for 1.


You'll want to cut the sheet into squares, I got about 12 squares roughly around the same size from the sheet.  You then want to cup it into your hand so that it forms a curve that would fit against the ball.  Then hot glue it like crazy and press it against the ball.  You will use the moss roll to fill in all the spaces.  I used 3 squares on each ball, but you get the idea and can adapt to whatever you feel.


To make the jute deco balls I started with a big dot of glue and just coiled the jute around and around and around and yet around again until you get to the opposite end of the ball.


I originally saw this idea from House of Hepworths.  She has tons, I mean tons of cute decor stuff to check out.


And here they all are, one big happy family.


Aloha~ Makalani ~Life is Good~

Jul 8, 2010

Jewelry Hanging Organizer

I have been wanting to make one of these for a long time now.  I am so happy that I finally did it and now need to make more.

I have purchased this frame from Michael's for about $5 a few months ago.  I forgot to take a before picture.  It was a brown wood looking color.  I took some Antique White and applied a few coats. 


I was not worried about covering into the cracks because I was going to add some distress to it by adding some watered down brown acrylic paint.


I ended up deciding to only use the fleur de lis knobs that I picked up at Hobby Lobby for 50% off of $1.99 making them $1 ea.


I then got a grill from Home Depot that my brother cut down to size for me.


I think I paid under just under $10 for this. 


Then I painted the grill with Antique White spray paint and thought it was a little plain so I added brown paint to the grill as well and then wiped it off until I got the look I wanted.  I then hot glued it to the inside of the frame.


I then added hooks to the back of the frame so I could hang on my wall.  I love these hooks because you just hammer them into the back of the frame.


And walah!  Here she hangs.

And here she is all dressed up.  I love it because I had my earrings in a drawer and would hunt and hunt for my earrings.  Now I can see them and they are all displayed so neat.  I am thinking of making more to hang more bracelets and necklaces. 

Linking to these awesome parties on my side bar ----------->

Aloha~ Makalani ~Life is Good~
Related Posts with Thumbnails