So last night as I was combing through all the blogs that inspire me {over there on the side bar ===>} I had the need to create something.
I wanted to paint, but did not have the colors I needed. I wanted to sew, but didn't have the matching thread. Then, I remembered I saw some puffyness made from napkins and thought, I have those. So just before turning in, I fluffed out a few of these. Sorry for the bad lighting, night pics indoors don't turn out so well in my house.
So these were too easy. I got 2 napkins and opened them up and cut on all four seems. I took the first napkin and stacked the layers and then cut scallops along the edges. Then took the other one and did the same. I then accordion folded the napkin and secured with floral wire wrapped in the middle to each of them. Then began to separate the layers of the layers. Be careful cause napkins tear easy. They are not the bounty type of material.
I just used the 4" napkins, so they turned out very full. The bigger the napkin size, the more layers you need.
Sorry, no pics for the tutorial, but I think you get it, right?
Happy crafting weekend!
http://nv-craftenvy.blogspot.com/2011/06/saturday-spotlight-51.html
Aloha~ Makalani ~Life is Good~
Showing posts with label flowers. Show all posts
Jun 4, 2011
Aug 4, 2010
Accordian Flower Tutorial
I know, these are all over blog land, but they are the most easiest flowers to make and I love how they look. I know all of my readers are pretty good at these because I have seen them on your blogs, but I have a few new followers and they might benefit.
You just need a strip of material that is at least 1" wide and the longer the material, the more ruffles you can make.
Aloha~ Makalani ~Life is Good~
You just need a strip of material that is at least 1" wide and the longer the material, the more ruffles you can make.
Fold the width of the material in half. It is easier if you press the material with a hot iron, but is not necessary. I don't iron it, but once I get going I always wished that I had. Up to you.
Then take a threaded needle and make a running stitch along the folded edge of the material. You will pull down on the material as you stitch so it starts gathering behind you.
Once you reach the end, somethings the gathers start curling and forming in a circle motion and you just need to tweak.
These here, I just made a circle with, but you can overlap and circle into forming a fuller flower. Possibilities are soooo endless.
Linking up with these parties here.
Aloha~ Makalani ~Life is Good~
Jul 1, 2010
4th of July Centerpiece
Since I made soooo many of these and had quite a bit left over from a previous project, I decided to make a centerpiece by making them into flowers.
I started with some small dowels that I had and painted them red and white since I still have no blue paint in the house.
I stuck them in the holes of these wiffle balls that were in these plastic cups so that they can dry. Then I flipped them over and painted the other end of the dowels.
When they dried I added the ruffled material to the sticks with glue gun. I wrapped them around the tips of the dowels and then cut a circle felt to cover the bottom of the material where the dowel meets.
Aloha~ Makalani ~Life is Good~
I started with some small dowels that I had and painted them red and white since I still have no blue paint in the house.
I stuck them in the holes of these wiffle balls that were in these plastic cups so that they can dry. Then I flipped them over and painted the other end of the dowels.
When they dried I added the ruffled material to the sticks with glue gun. I wrapped them around the tips of the dowels and then cut a circle felt to cover the bottom of the material where the dowel meets.
Then I got a mason jar that I picked up from Goodwill a few weeks ago for $.69 and filled it with some black marbles and tied some jute around the neck of the jar. I also inserted 3 of these picks for more flare that I had left over from a previous project.
I love how it turned out and goes great with the table runner and plate that I received from a summer swap I participated in. Thanks for stopping by.
Linking to the parties on my side bar.
Jun 29, 2010
Star Spangled Wreath
I have been up to a few projects lately. This is the newest completed project to my 4th of July ensemble. I have never really decorated for the 4th before, but since I have had time and inspiration from blog land I decided to start my collection.
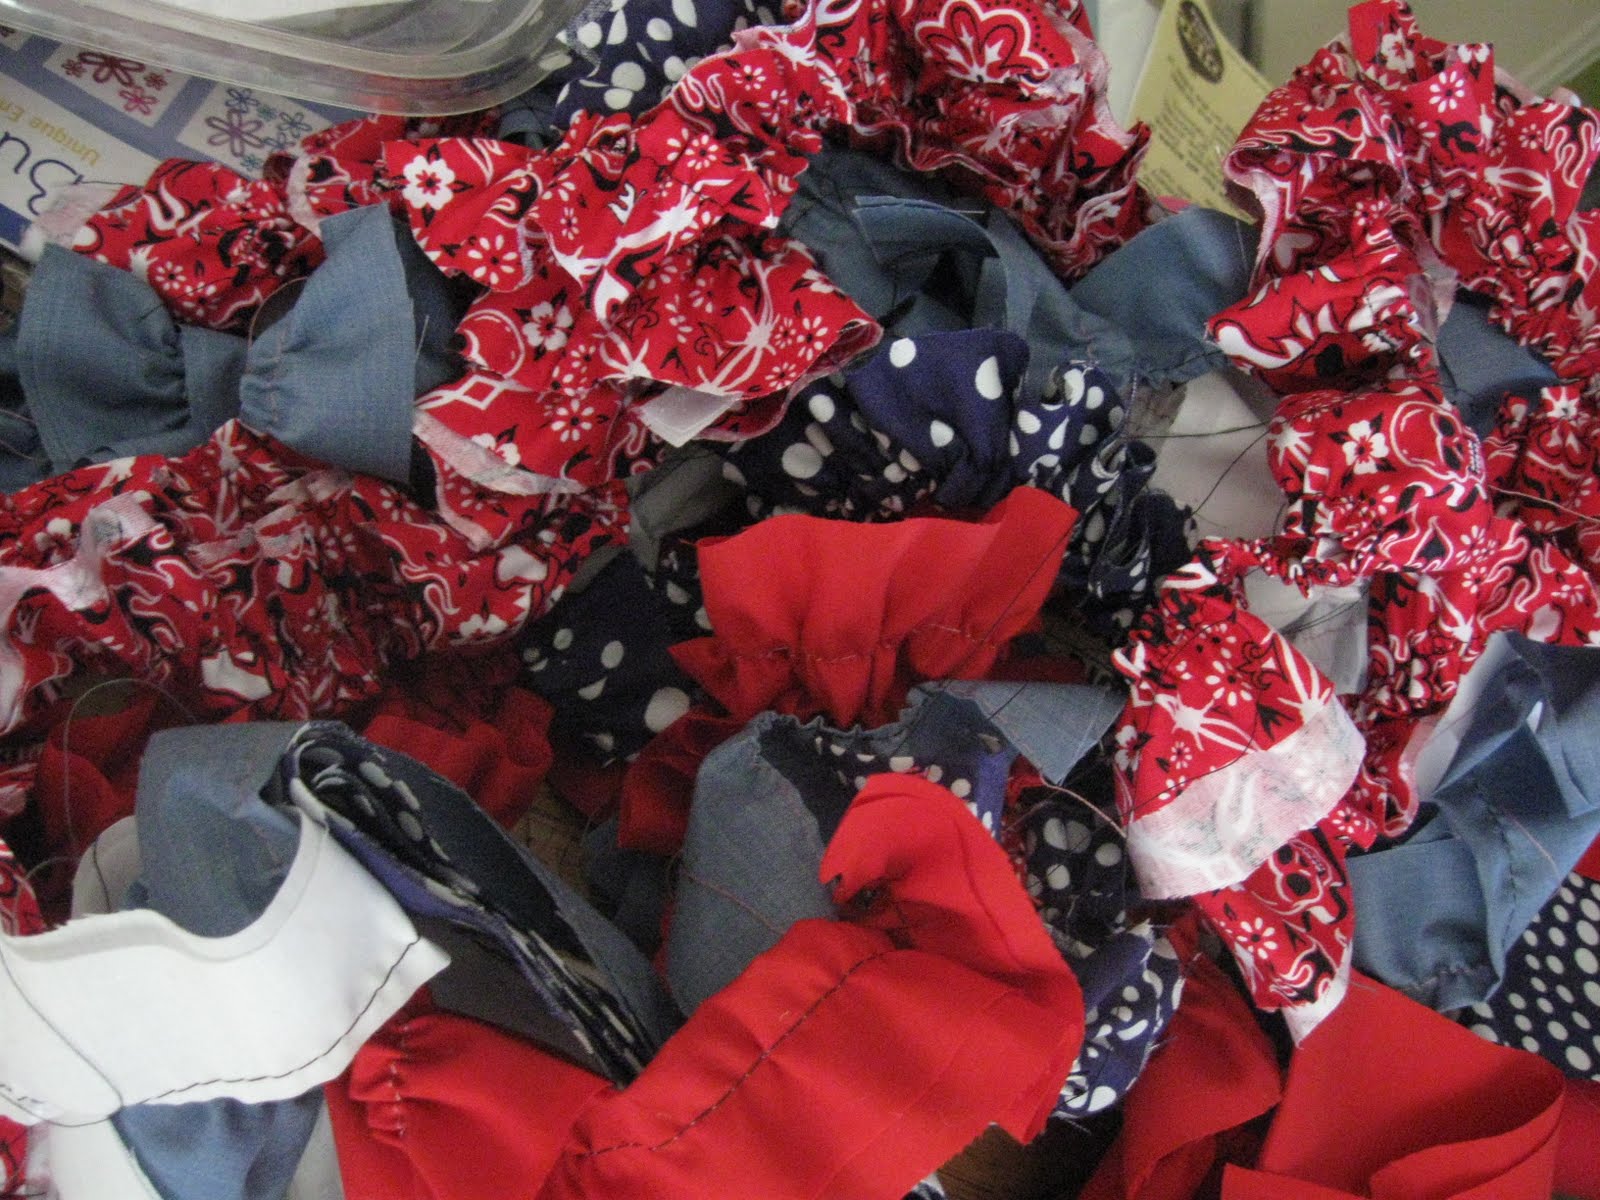
I started with these scraps of material that I cut lengthwise from salvage to salvage. If you are not a very good sewer like I am, you can hand stitch these strips. Ironing them in half lengthwise helps a lot. Once you get it stitched, you gather the material down the string to ruffle it up and end up with all of these.


All Thingz Related
Patriotic Parade at Diary of a Craftaholic
Aloha~ Makalani ~Life is Good~
I started with these scraps of material that I cut lengthwise from salvage to salvage. If you are not a very good sewer like I am, you can hand stitch these strips. Ironing them in half lengthwise helps a lot. Once you get it stitched, you gather the material down the string to ruffle it up and end up with all of these.
You can make a few of these beauties by edging these around a 1in diameter circle felt and gluing as you go with hot glue gun.
I also got a few of these star for $.25 each that I painted with acrylic paint red and white primer paint since I did not have any white in the house. I didn't have any blue in the house either.
TIP: I use meat trays to pour paint on to paint with all my projects. Great recycling!
I then got a wooden wreath from the dollar store and covered it with burlap. And then hot glued the flowers and stars and other embellishments to the wreath.
I thought it still needed something so I dug out the toilet paper rolls and paper towel rolls that I have been saving (for what, who knows) to make firecrackers and covered them with material. I found these toothpick sparkler like things at Michael's for $.99 for a package of them and glued them to the middle of the rolls to simulate the fuse of the firecrackers. I wrapped a piece of burlap around the 3 firecrackers to hold them together and then hot glued them to sit inside the wreath like so. Please don't mind all the dust on the screen door, it needs a good hose down.
Thanks for stopping by and I am linking to:
All Thingz Related
Patriotic Parade at Diary of a Craftaholic
Aloha~ Makalani ~Life is Good~
Featured on Simpsonized Crafts and then some
I am featured on

Audra is featuring my 4th of July headbands that you can find here. Go over and check out Audra's blog here. It is way cute and she has tons of tips from recipes to decorating, scrap booking ides and gift giving ideas. You will be glad you did! She is currently featuring her favorite 4th of July ideas she has found throughout blog land.
Aloha~ Makalani ~Life is Good~
Audra is featuring my 4th of July headbands that you can find here. Go over and check out Audra's blog here. It is way cute and she has tons of tips from recipes to decorating, scrap booking ides and gift giving ideas. You will be glad you did! She is currently featuring her favorite 4th of July ideas she has found throughout blog land.
Aloha~ Makalani ~Life is Good~
Jun 23, 2010
4th of July Headbands
I have been working on these headbands for the up coming holiday weekend for my nieces and daughter. I have been also working on these flowery headbands.
These are sooo fun and easy to make.
Linking up to
Aloha~ Makalani ~Life is Good~
Jun 12, 2010
Cutesy Headbands
I was inspired to do this headband by my friend kelli over at LollyJane Boutique. See her fabulous headband recycle project here.
I picked up the plastic headband in a pack of 3 from the dollar store. I also used scrap material I had around the home. It doesn't take much. Headband, material, small piece of felt, glue gun and glue sticks.
First, I wrapped the end of one side of the head band like this

Aloha~ Makalani ~Life is Good~
I've linked this project to
I picked up the plastic headband in a pack of 3 from the dollar store. I also used scrap material I had around the home. It doesn't take much. Headband, material, small piece of felt, glue gun and glue sticks.
First, I wrapped the end of one side of the head band like this
Then I started wrapping the material around the head band until I reached the other end.
Then when I got to the end, I wrapped it toward the inside of the head band like this
I then got a flower and a piece of felt and attached it to the completed headband.
And then it's done!
I've linked this project to
Subscribe to:
Posts (Atom)